The most important part of an awesome t-shirt is to have the perfect design. The other is to find the right printer for it, but if you're reading this you're already in good hands with us. In this tutorial, we'll explain you how to make sure you provide us with the highest quality printable files for your designs, so when your customers receive their orders they'll be astonished with the prints!
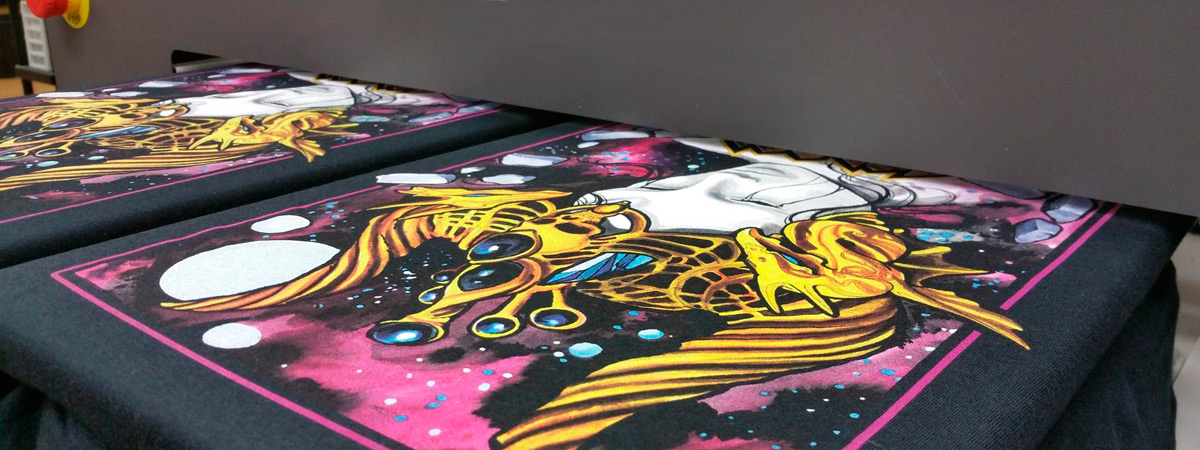
On demand printing is done digitally with direct to garment printing machines (DTG). There are several options and models in the market and color correction is always an important part of the artwork preparation. However, our expertise in the matter allow us to know that the best way to provide files for DTG is to send us high-resolution transparent .PNG files, at 300dpi at the maximum printable area of an DIN A3 (which is 29x42cm). Follow the guide below to create them:
Direct to Garment printing is a digital printing method and unfortunately we are not able to print 'transparencies’ onto dark garments. but what could be considered a transparency? Some of the common problems could include:
- Any aspect of the design that has reduced opacity
- Any aspect of the design that has a faded edge
- Drop shadows
- Glows
- "See through" inks
Note: It's mandatory that there are no partial transparencies on the files. If you wish to give the print a transparent feel, you'll have to include a base layer with the color of the garment you're printing onto below your design.
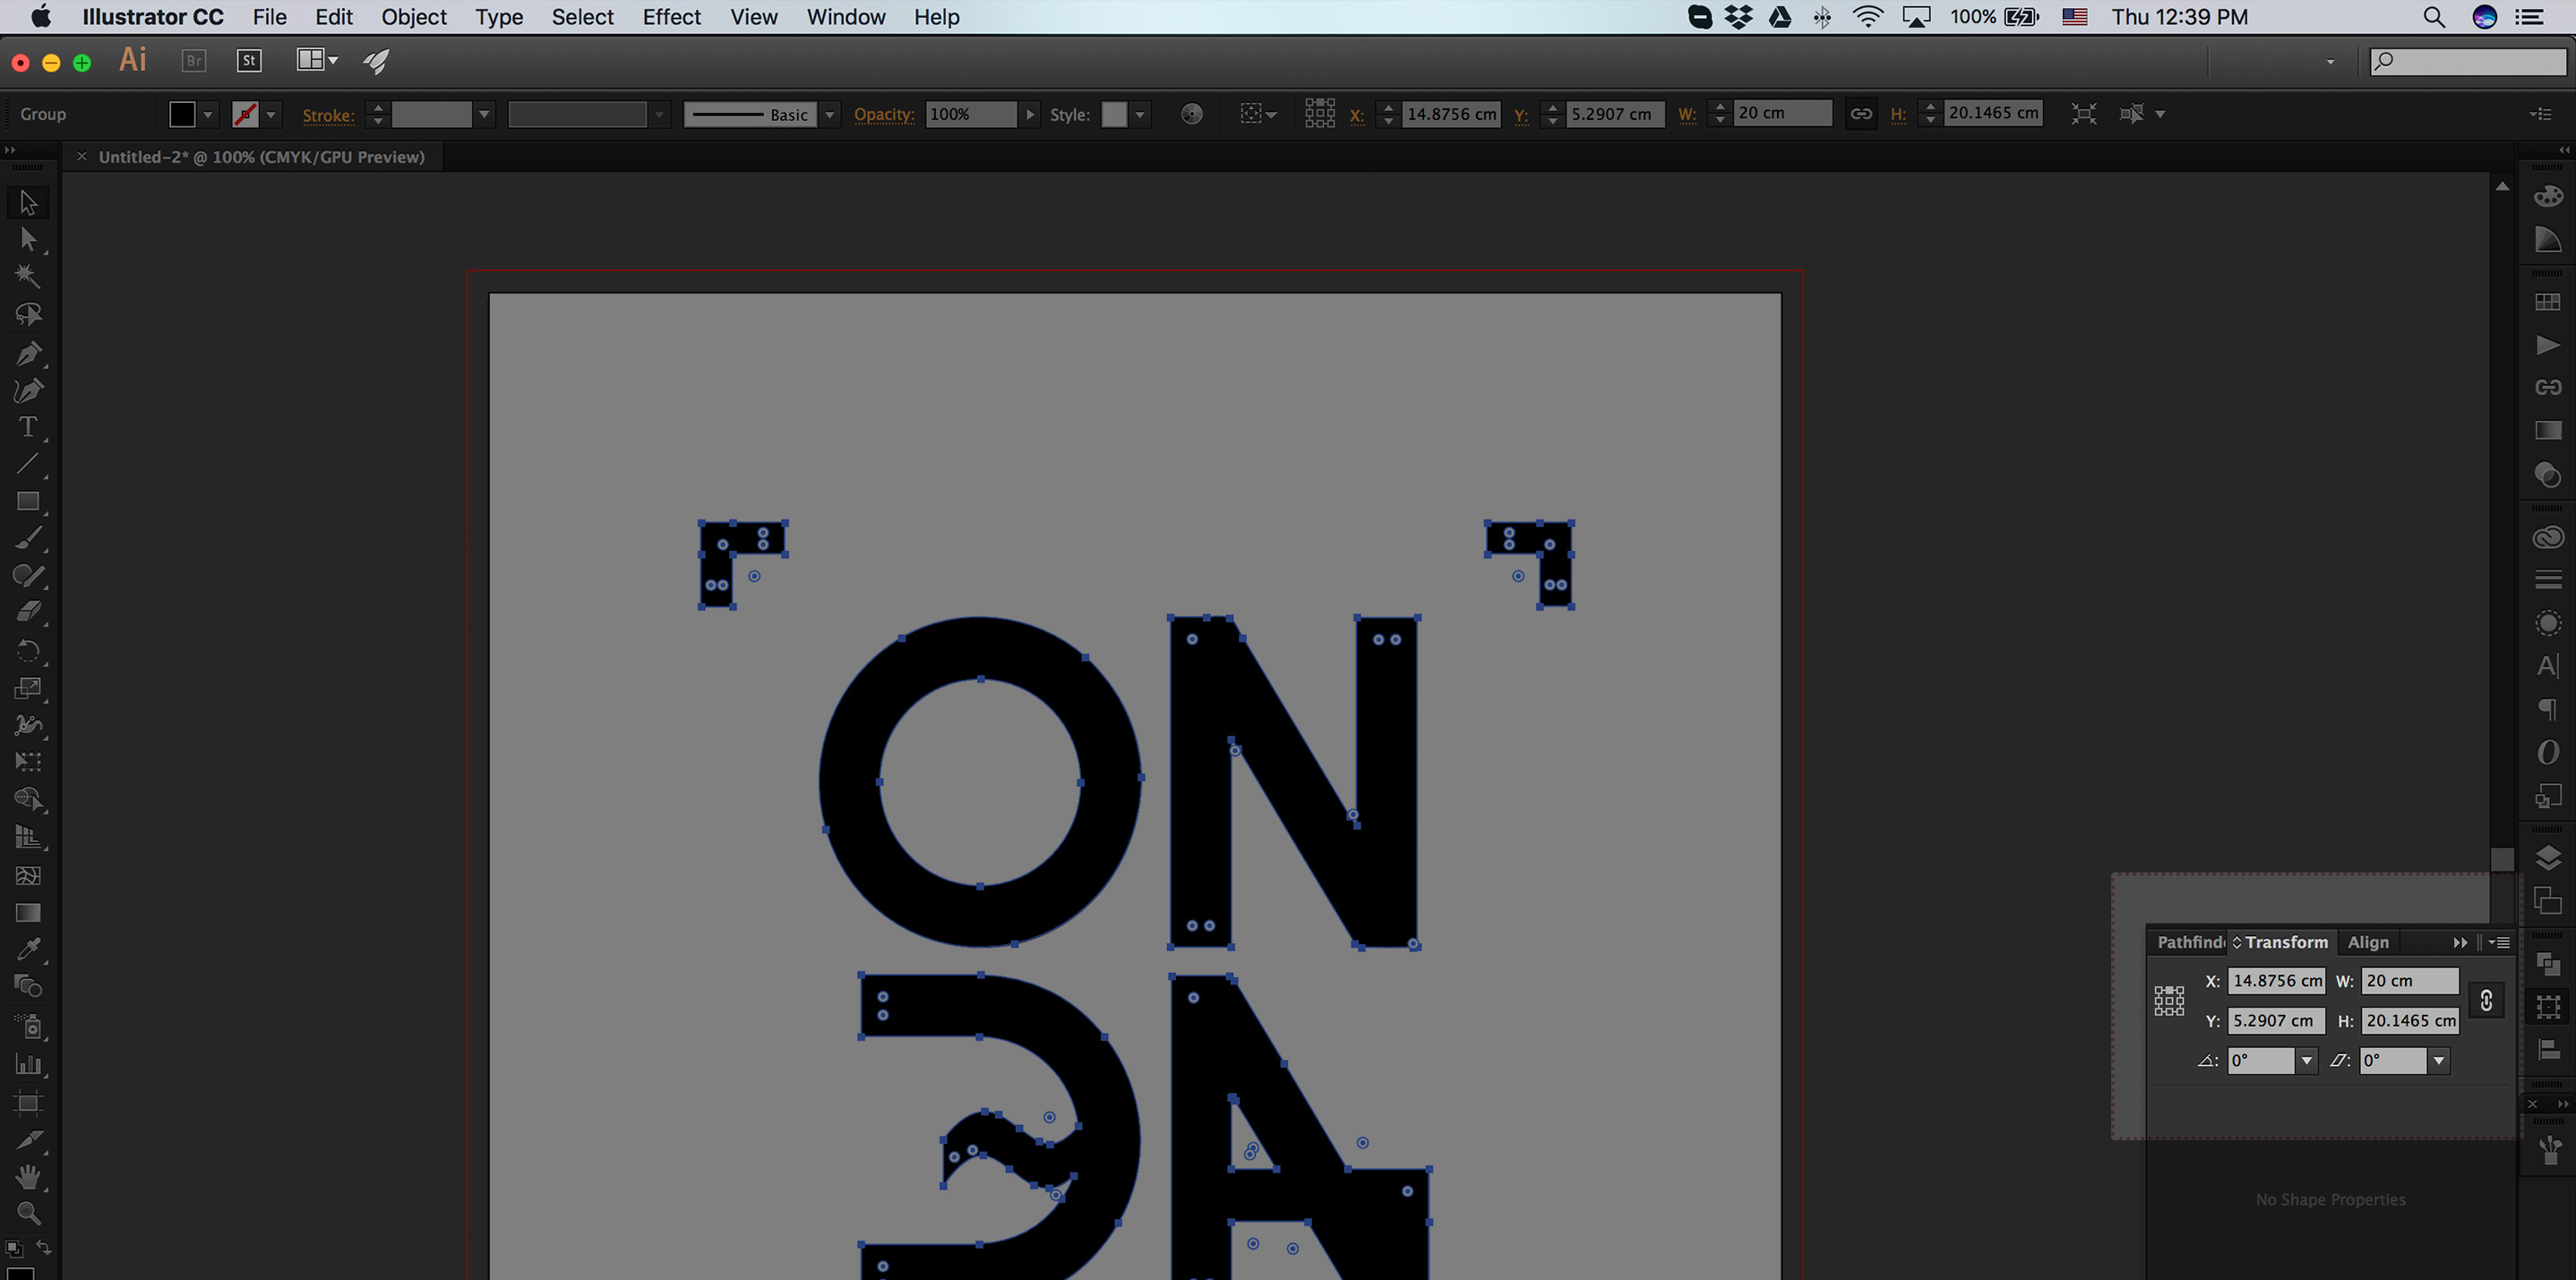
Using Adobe Illustrator
If you did your design in a vector based software, such as Adobe Illustrator, you'll have it super easy:
- Set the artboard to A3 (portrait mode, 29x42cm)
- Place your design within it
- Resize to fit the size you want the print to be (use the "Transform" tab)
- Make sure the background of the file is transparent
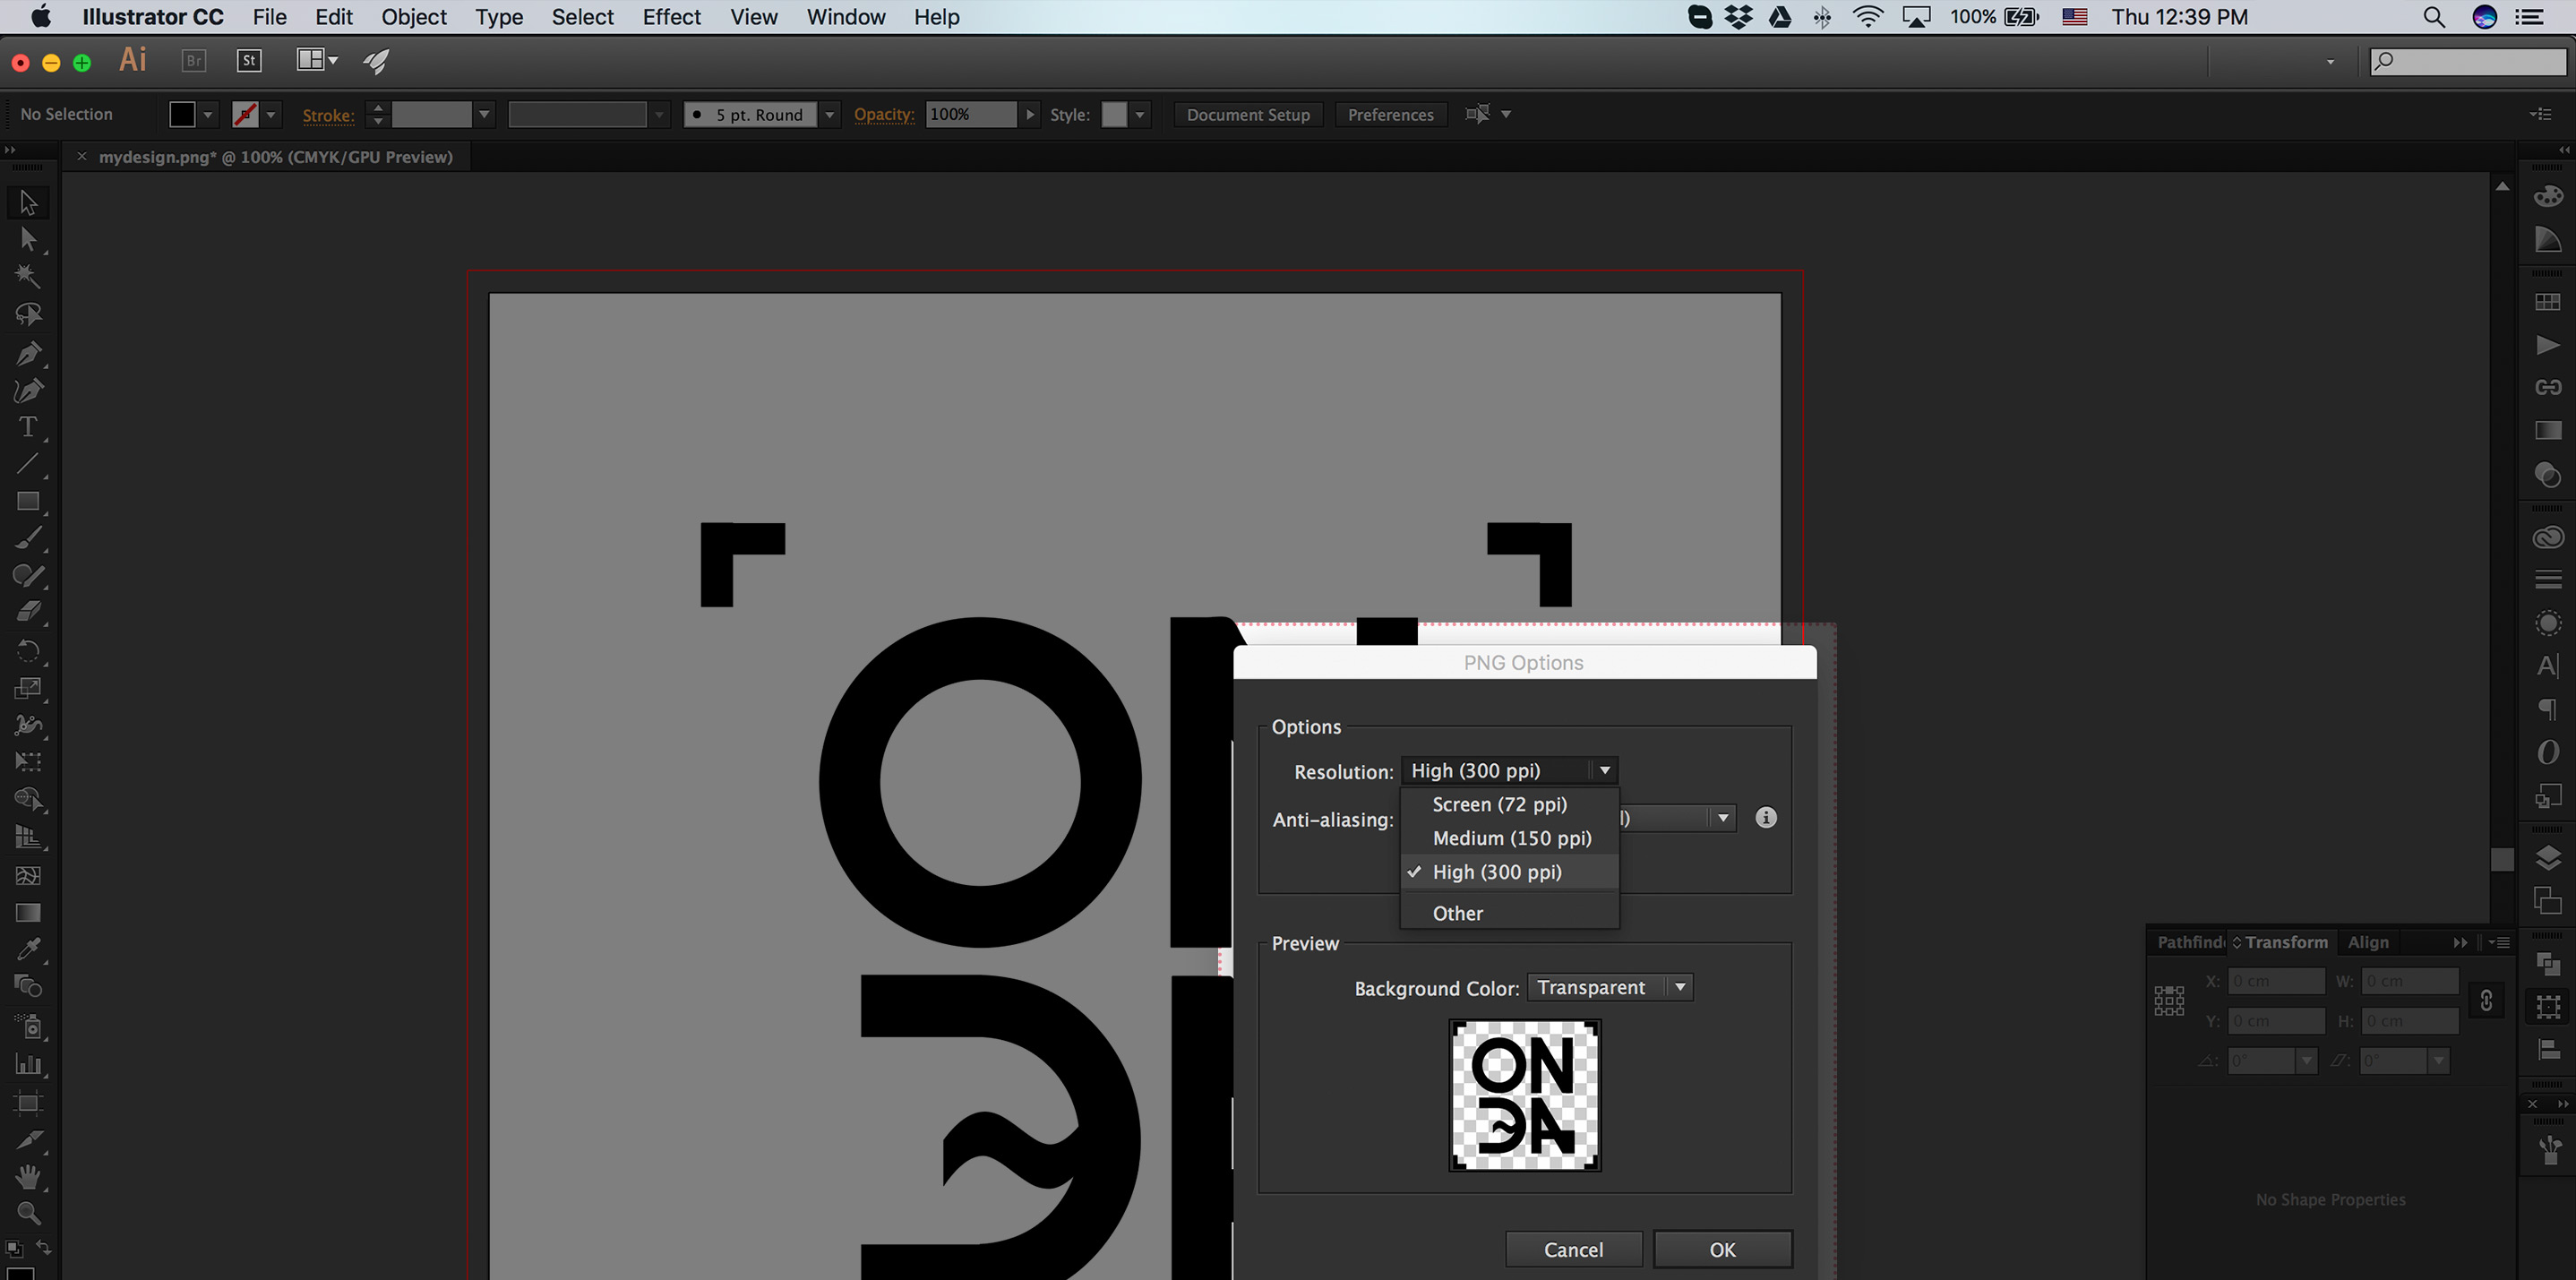
- Go to "Export"
- Select the format to be PNG
- On the pop-up window ("PNG Options") select 300dpi
- Make sure to keep the background transparent
- You're set.
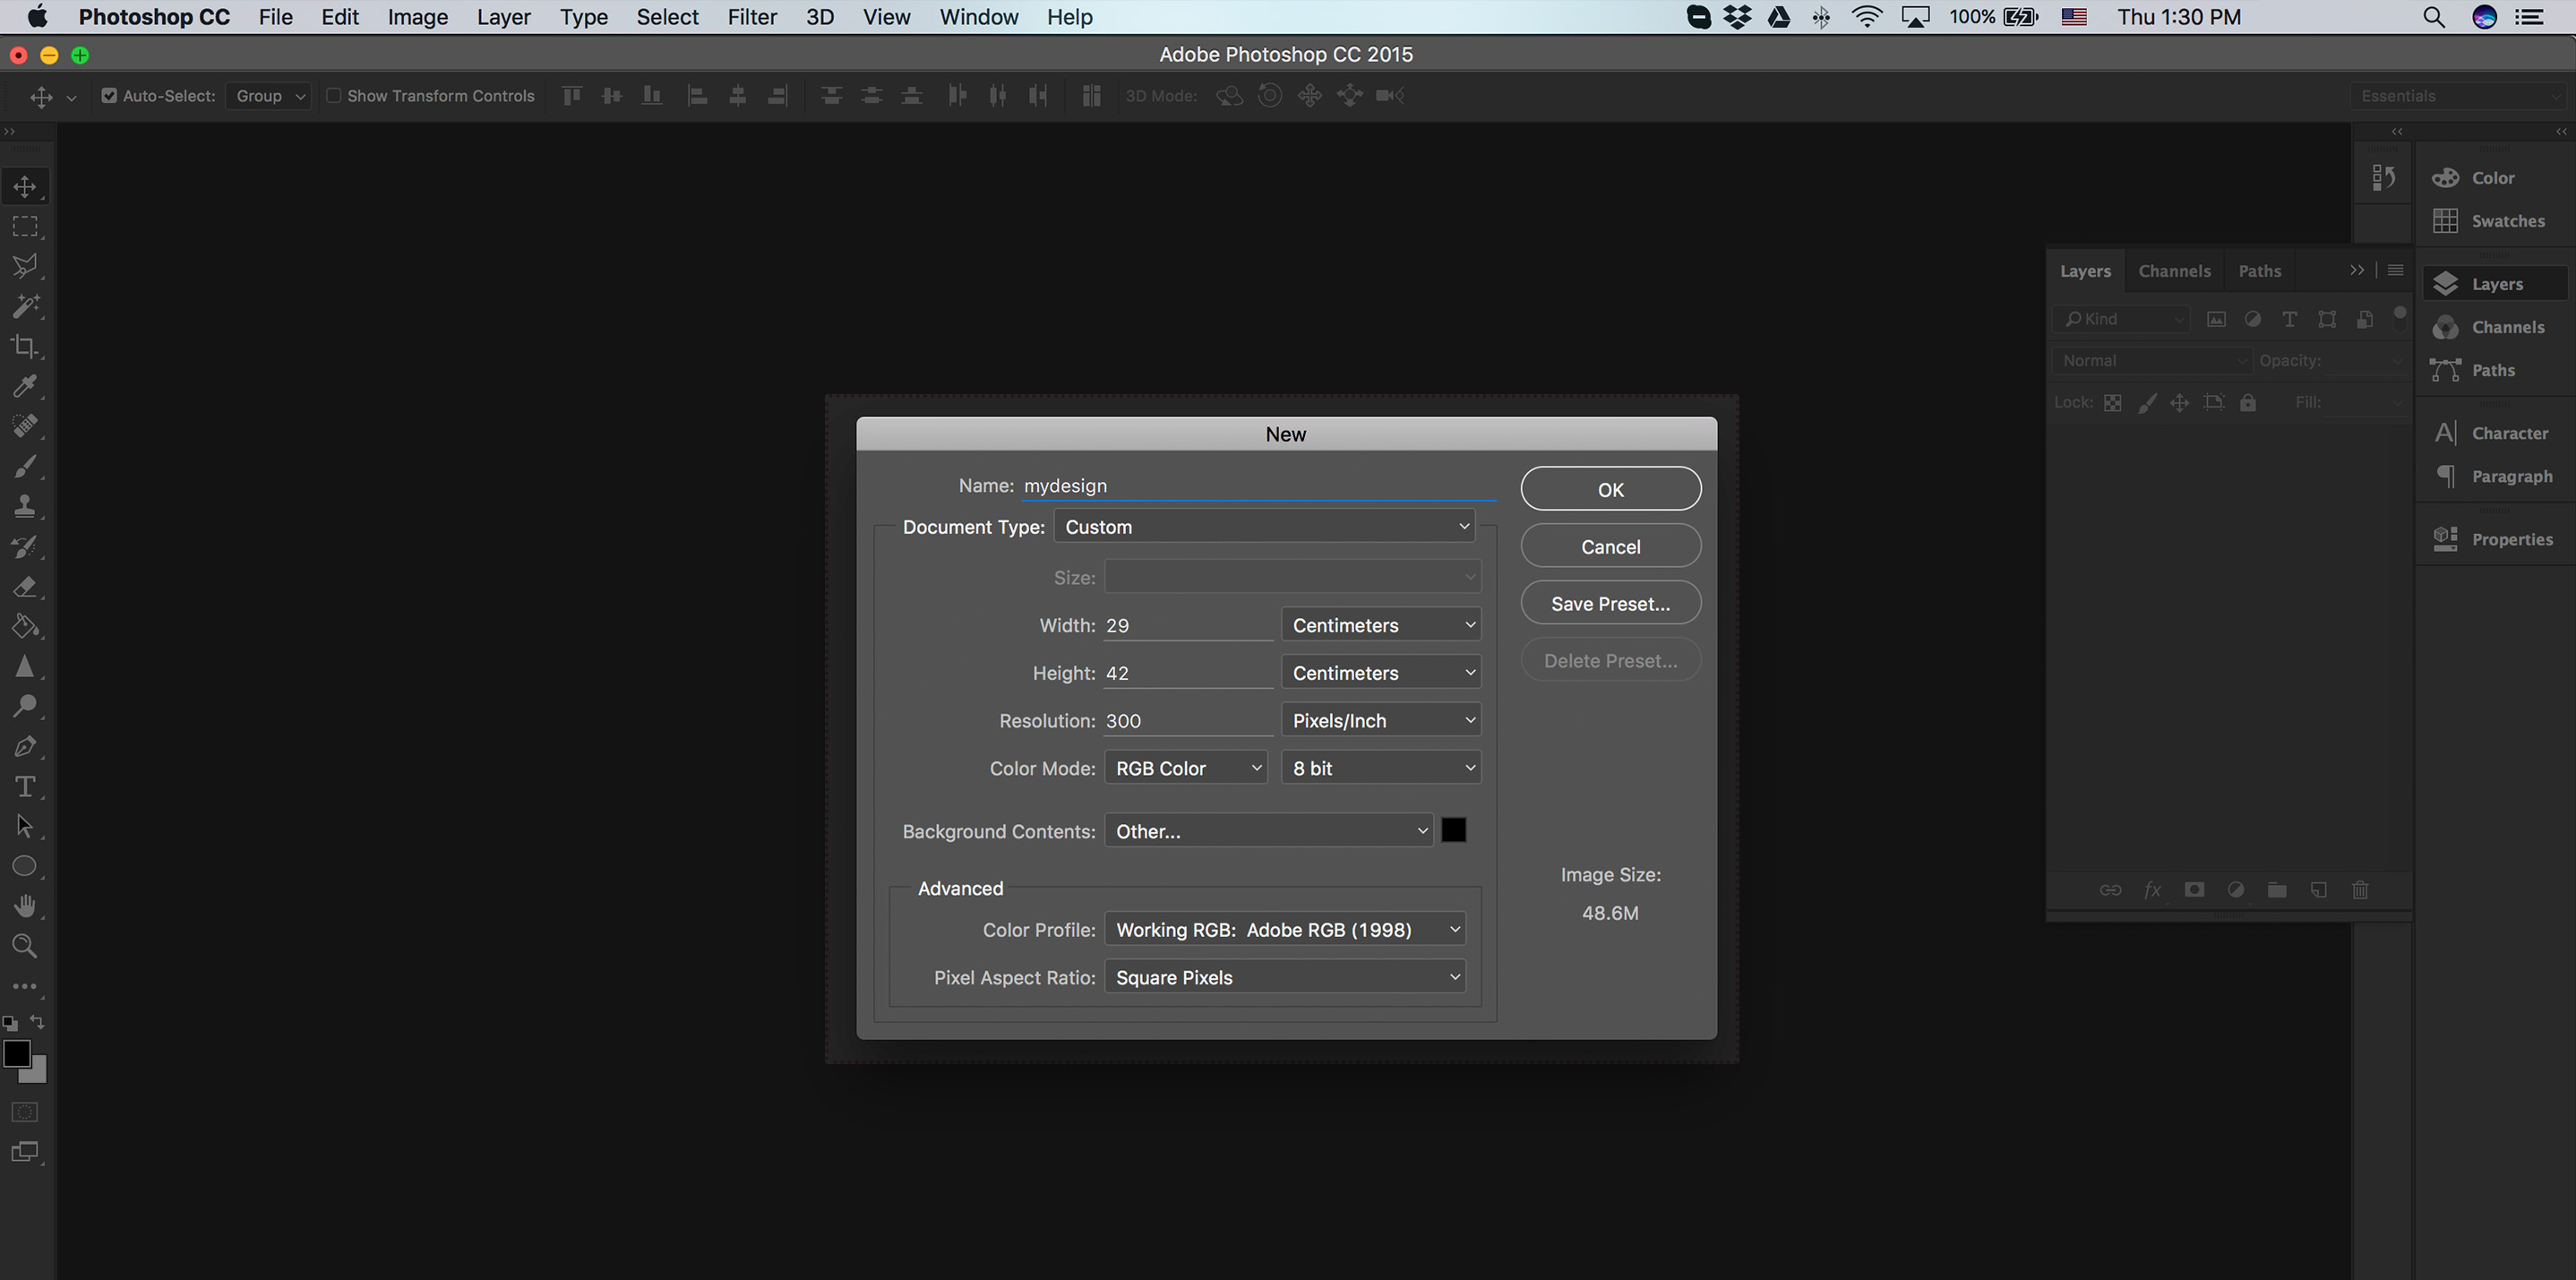
Using Adobe Photoshop
If your software of choice is Adobe Photoshop, you have to pay attention specially to the file's resolution and to the transparencies. Since all pixels have to be 100% solid, it's recomendable your don't work with small pixels and drop shadows. If you wish to do so, you have to add a base layer to all your design in the same colour of the garment you're printing onto. Read more about it here
- Set the file to A3 (portrait mode, 29x42cm)
- Set it to 300dpi
- Select RGB mode
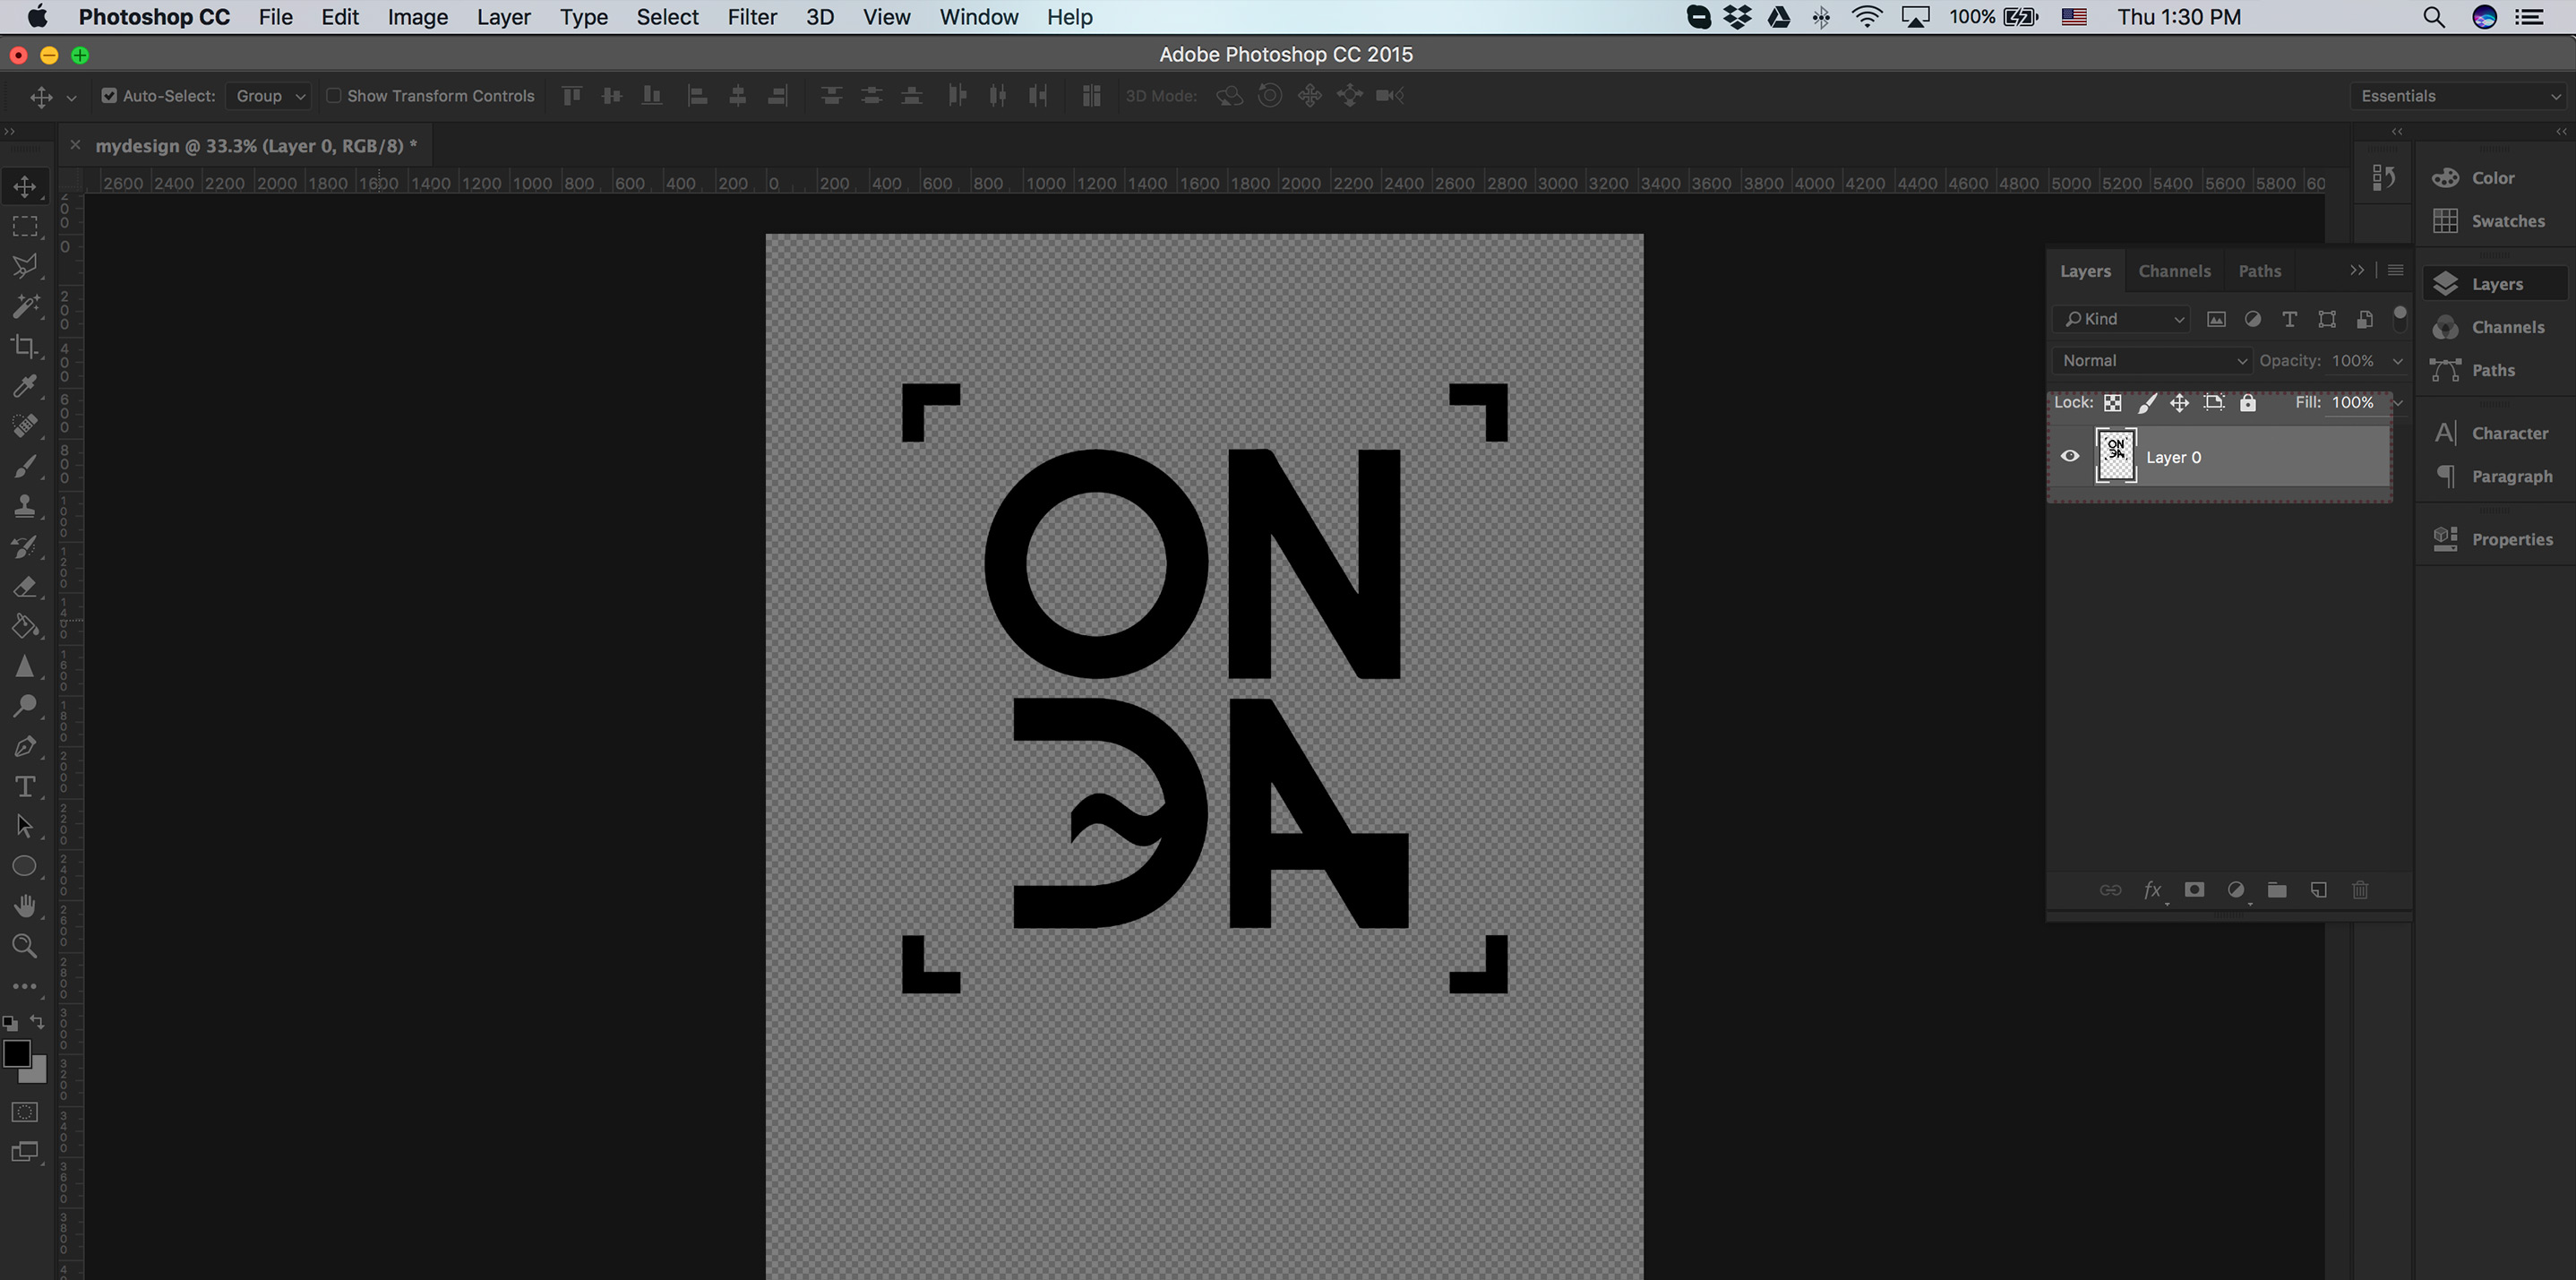
- Place your design within it
- Resize to fit the size you want the print to be
- Make sure the background of the file is transparent
- Flatten all layers
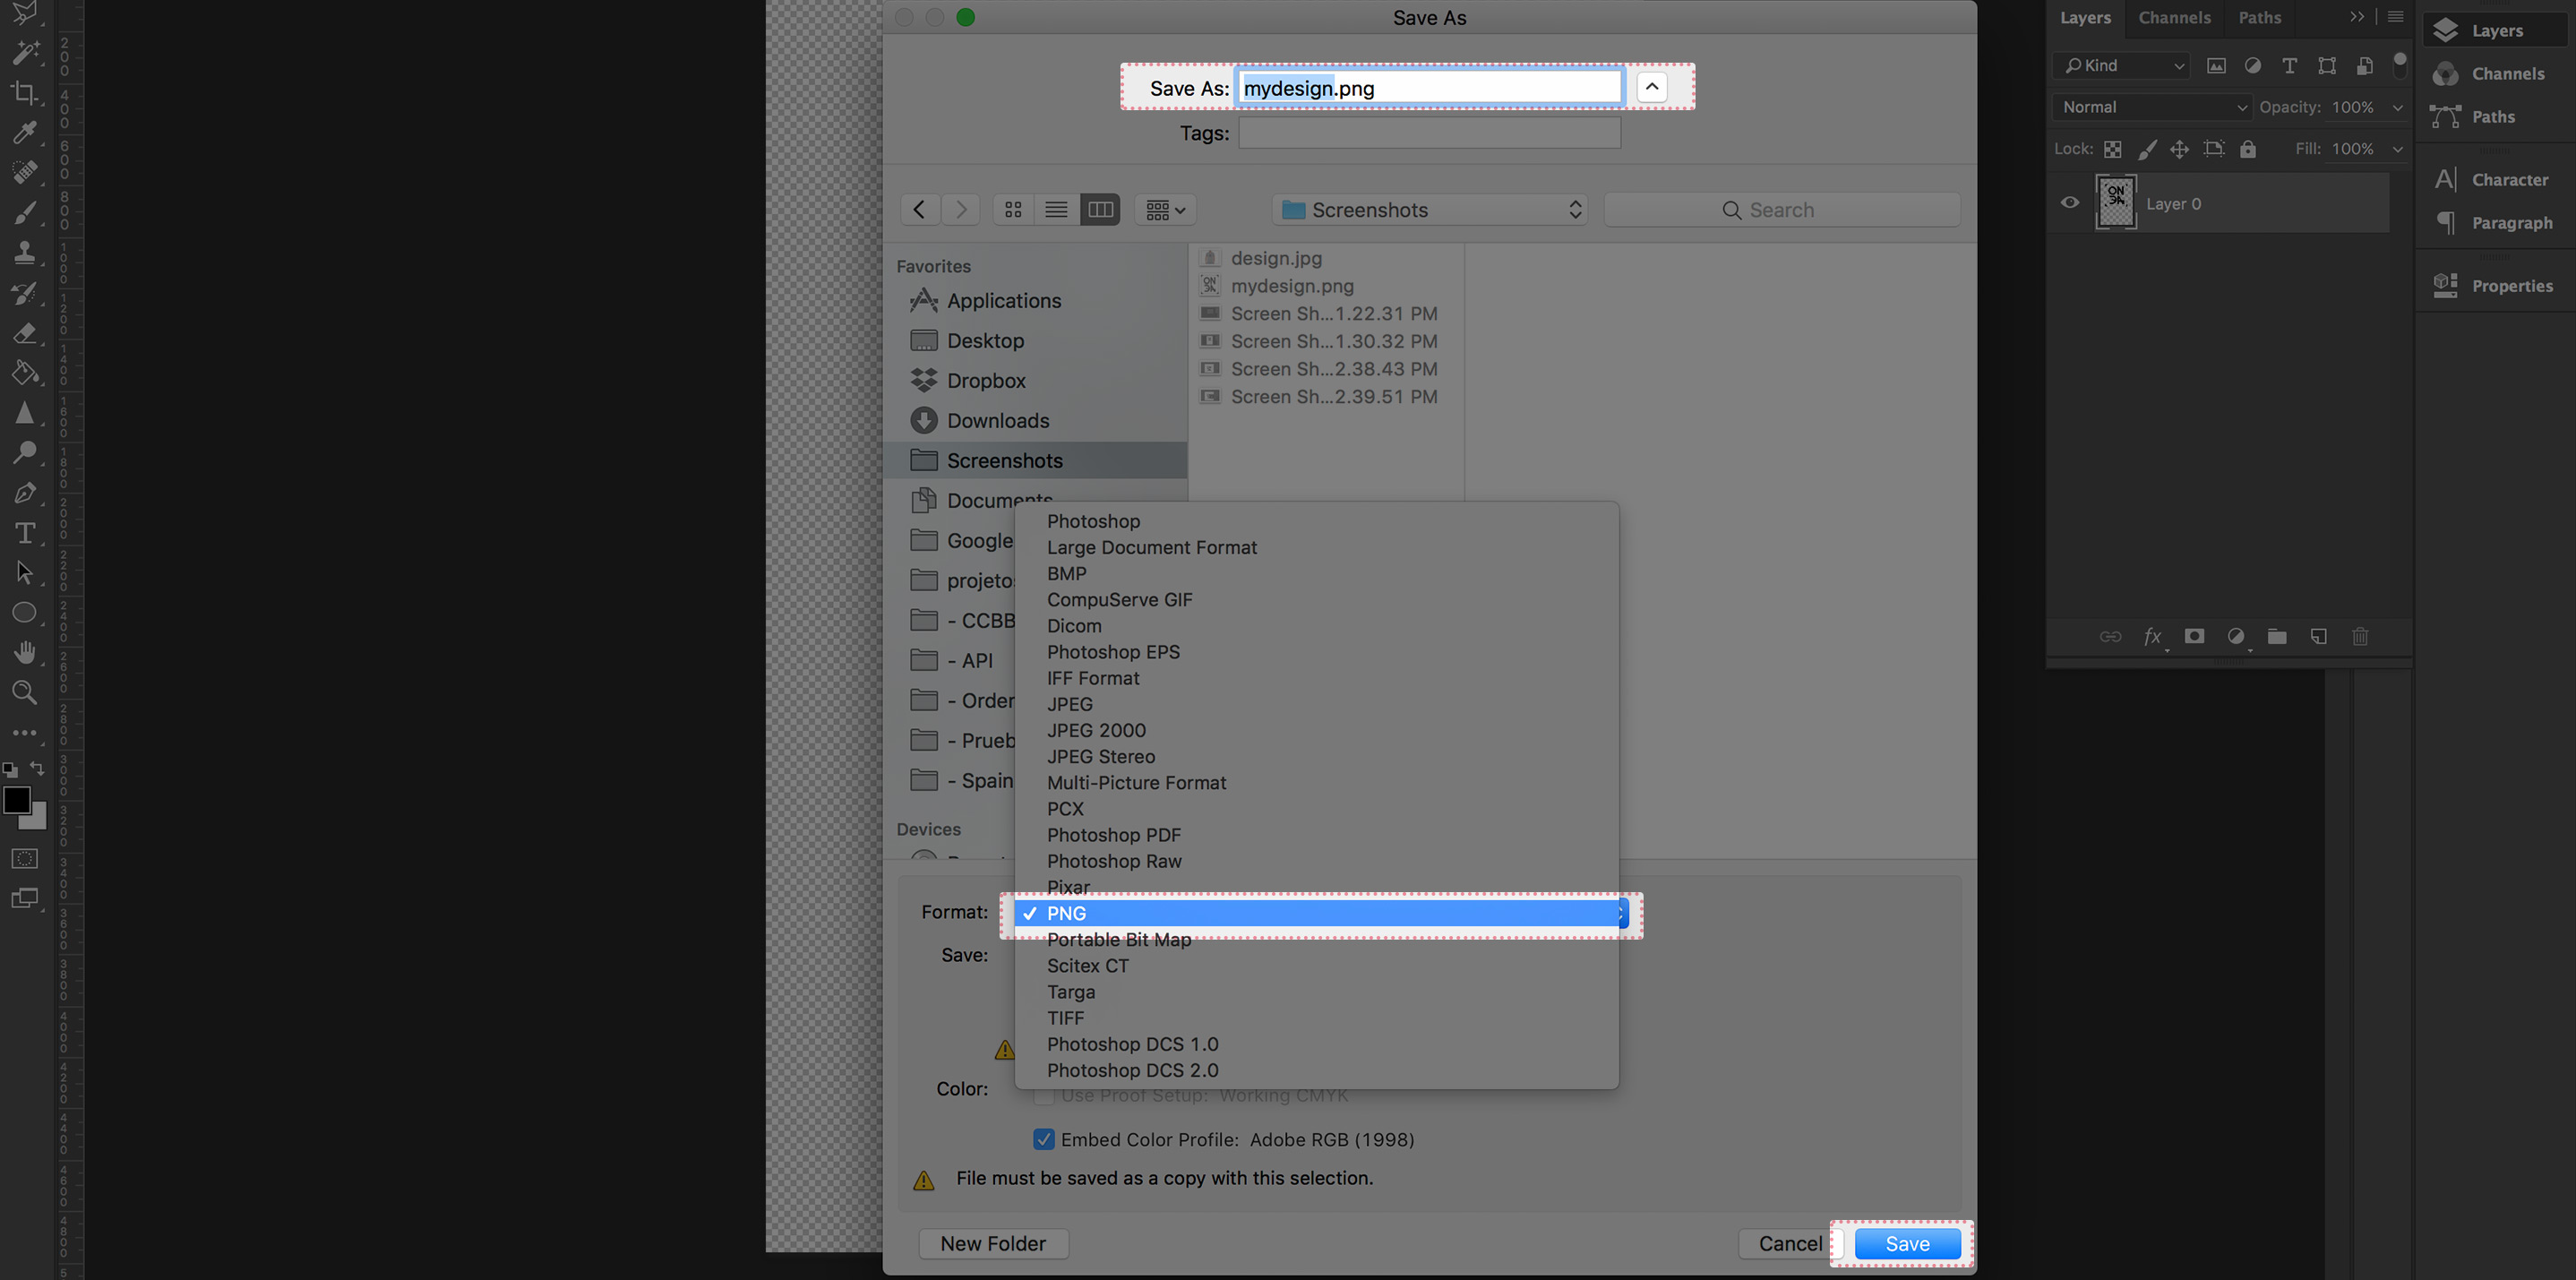
- Go to "Save As"
- Select the format to be PNG
- You're set.
All done! Now you can send your files to the printer! :)